
One Hour Dinner Rolls Recipe for Quick and Fluffy Breads
Dinner rolls have long been a beloved staple on dining tables around the world, cherished for their soft, fluffy texture and the comforting warmth they bring to any meal. From holiday gatherings to weeknight dinners, these delightful breads effortlessly complement a variety of dishes, making them a favorite among families. In today’s fast-paced world, where time often seems to slip away, the demand for quick and efficient recipes has skyrocketed. Home cooks are constantly on the lookout for ways to prepare delicious meals without spending hours in the kitchen.
Enter “One Hour Dinner Rolls,” a timely solution for busy households seeking to serve warm, homemade rolls without sacrificing their precious time. This recipe not only guarantees fresh rolls in just 60 minutes, but also simplifies the bread-making process, allowing even novice bakers to achieve impressive results with minimal effort. Whether you’re preparing for a special occasion or simply want to elevate your daily meals, these quick dinner rolls will become a trusted favorite in your culinary repertoire.
The History of Dinner Rolls
Dinner rolls, cherished in various cultures around the world, have a rich history dating back thousands of years. The earliest forms of bread can be traced to ancient civilizations, where simple mixtures of ground grains, water, and fire led to the first leavened breads. These early breads paved the way for the evolution of more refined baked goods, including what we know today as dinner rolls. As culinary techniques advanced, so too did the methods of bread-making, resulting in the creation of soft, pillowy rolls that would soon become a staple at family gatherings and festive occasions.
Throughout history, the dinner roll has adapted and evolved, reflective of cultural shifts and regional preferences. In Europe, for instance, the French perfected the art of bread-making, introducing brioche and other rich rolls. Meanwhile, in the United States, dinner rolls became a symbol of hospitality and home-cooked meals, often appearing alongside hearty dishes during communal gatherings. Today, dinner rolls continue to be a beloved addition to mealtime, embodying both tradition and comfort in every bite.
What Makes a Great Dinner Roll?
To create a truly great dinner roll, several key ingredients and characteristics must come together harmoniously. The foundation of any good roll lies in its ingredients. Basic components include:
- Flour: All-purpose or bread flour provides structure and strength to the dough.
- Yeast: Active dry yeast or instant yeast is essential for leavening, giving the rolls their airy texture.
- Water: Warm water activates the yeast and hydrates the flour, essential for gluten development.
- Sugar: A bit of sweetness enhances flavor and feeds the yeast during fermentation.
- Fat: Butter or oil adds moisture, richness, and tenderness to the rolls.
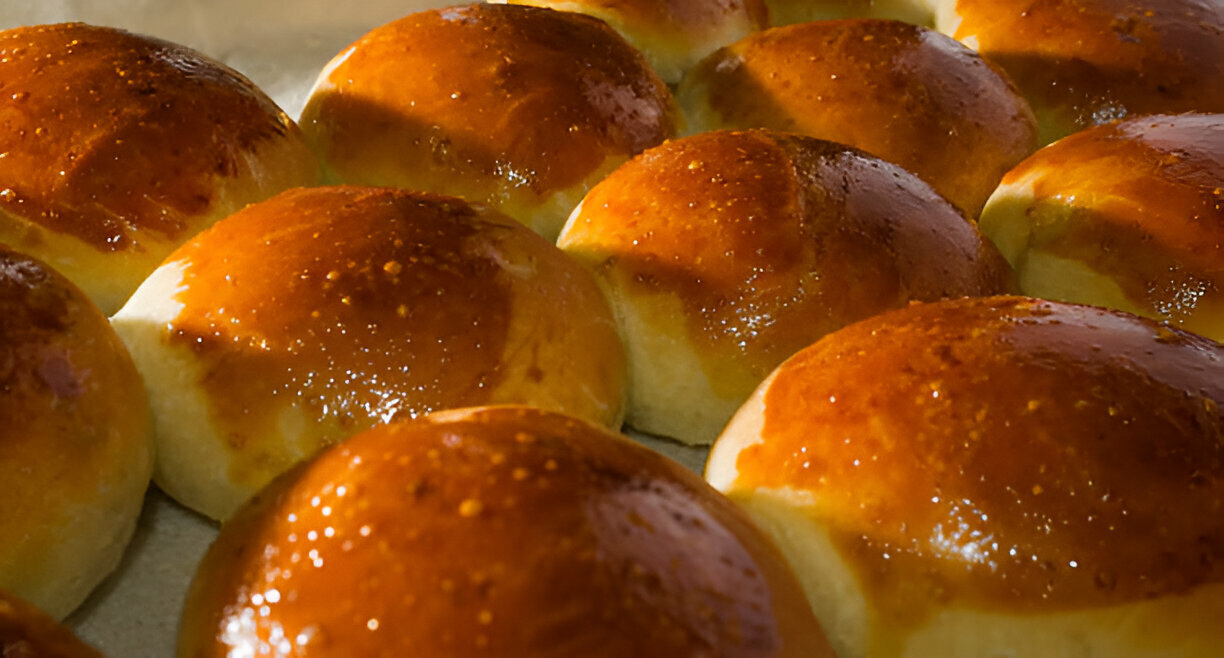
When combined in the right proportions, these ingredients yield rolls that are not only delightful but also versatile. The perfect dinner roll boasts a soft and fluffy texture, making it a total pleasure to tear apart and enjoy. The flavor should be slightly sweet and enriched by the fat, creating a rich taste profile that complements any meal. Visually, great dinner rolls are golden brown, inviting, and perfectly shaped, adding an aesthetic appeal to the dining experience.
The Science of Quick Dinner Rolls
Understanding the science behind quick dinner rolls is essential for achieving the perfect texture and flavor in your breads. The key player in this process is yeast. Yeast is a living organism that ferments sugars in the dough, producing carbon dioxide and alcohol, which create the airy structure we associate with well-risen bread. When it comes to quick dinner rolls, making sure your yeast is active is crucial.
3.1 Understanding Yeast
Yeast comes in different forms, primarily active dry yeast and instant yeast. Both serve the same purpose, but they do behave slightly differently. To ensure your yeast is active, start by dissolving it in warm water mixed with sugar. The ideal temperature for activating yeast is between 105°F and 115°F. After a few minutes, you should see bubbles forming, which is a sign that the yeast is alive and ready to create those fluffy rolls.
3.2 Bread Dough Techniques
Once your yeast is activated, the next key aspect of quick dinner rolls is the bread dough-making technique. Kneading the dough is critical; it develops gluten, which creates structure in your rolls. Knead the dough on a floured surface until it’s smooth and elastic, which should take about 7-10 minutes. Allow the dough a short resting phase, around 20 minutes, to rise. To speed up the process, you can create a warmer environment by placing the dough in a preheated oven turned off or covering it with a warm damp cloth.
One Hour Dinner Rolls Recipe
4.1 Ingredients
- 4 cups all-purpose flour
- 1 packet (2 1/4 tsp) active dry yeast
- 1 cup warm water (105°F to 115°F)
- 1/4 cup sugar
- 1/4 cup melted butter
- 1 tsp salt
4.2 Directions
Mixing the Dough (100 words): Start by combining the yeast, warm water, and sugar in a bowl. Allow the mixture to sit for about 5-10 minutes until it blooms and becomes frothy. In another mixing bowl, add the flour, melted butter, and salt. Gradually stir in the yeast mixture, combining until the dough forms. The mixture should be sticky but pull away from the sides of the bowl.
Kneading (100 words): Turn the sticky dough out onto a floured surface. Knead for about 10 minutes until it is smooth and elastic. If the dough is too sticky, sprinkle a little more flour as needed. Form the dough into a ball and place it in a greased bowl, rolling the ball to coat it.
First Rise (50 words): Cover the bowl with a damp cloth or plastic wrap and allow the dough to rise in a warm place for about 20 minutes or until doubled in size.
Shaping the Rolls (100 words): Once the dough has risen, gently punch it down to release air. Divide the dough into equal portions, roughly 12 or 15 pieces, depending on the size of rolls desired. Take each portion and shape it into a smooth ball. Smooth the surface by rolling it between your palms.
Second Rise (50 words): Place the shaped rolls onto a greased baking pan, leaving space between each roll for spreading. Cover with a cloth and let them rise for another 20 minutes until puffed up.
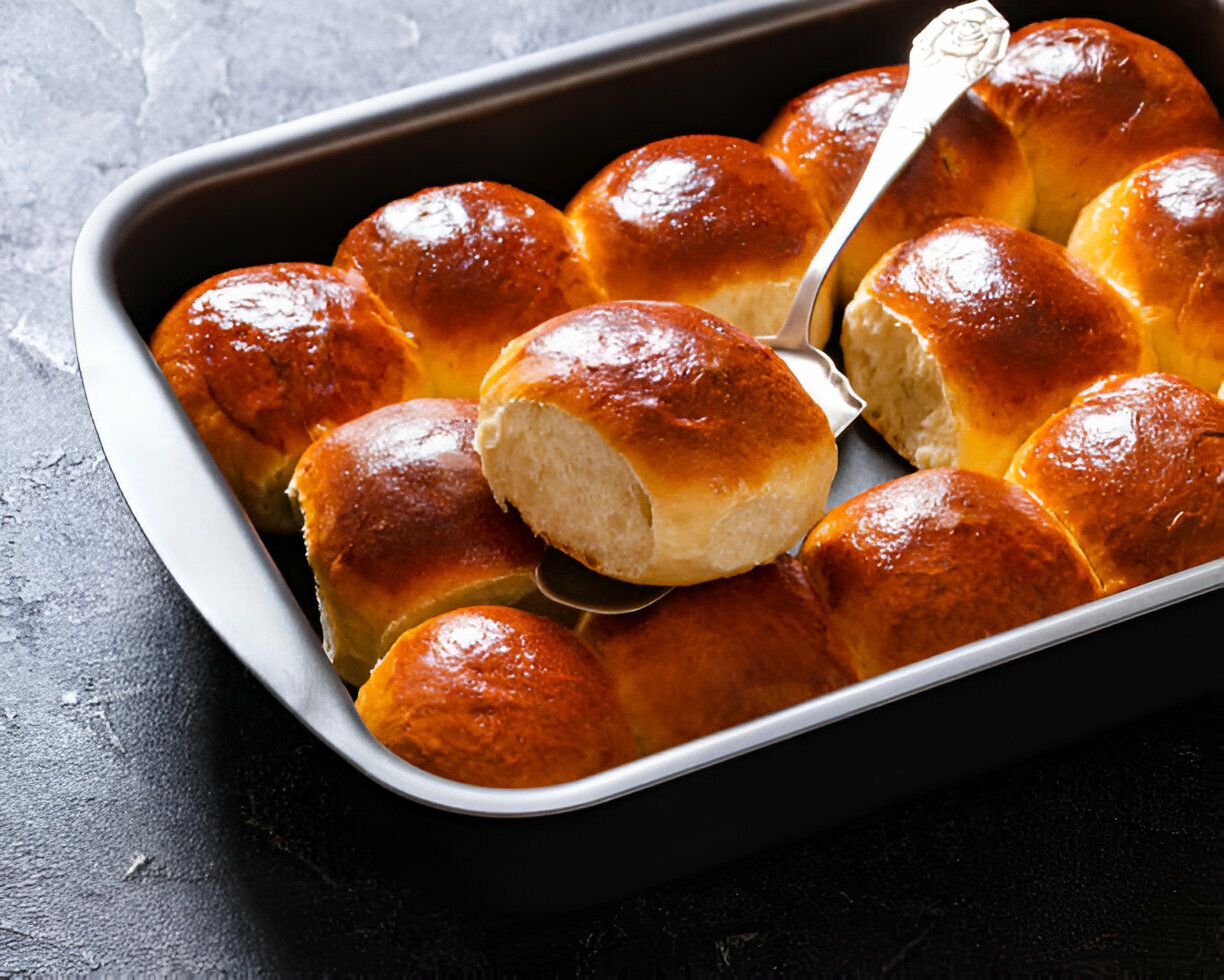
Baking Instructions (100 words): Preheat your oven to 375°F (190°C). Once the rolls have risen, place them in the oven and bake for 15-20 minutes or until they turn a golden brown color and sound hollow when tapped on the bottom. Remove the rolls from the oven and brush the tops with melted butter for a rich finish.
4.3 Tips for Success
To guarantee your dinner rolls turn out perfectly, ensure the water temperature is right for activating the yeast—too hot can kill the yeast, while too cold can prevent activation. Additionally, be cautious not to over-knead the dough; it should feel elastic but should not stick to your fingers. If you have the time, let the dough rise a little longer for even fluffier rolls.
Serving and Pairing Suggestions
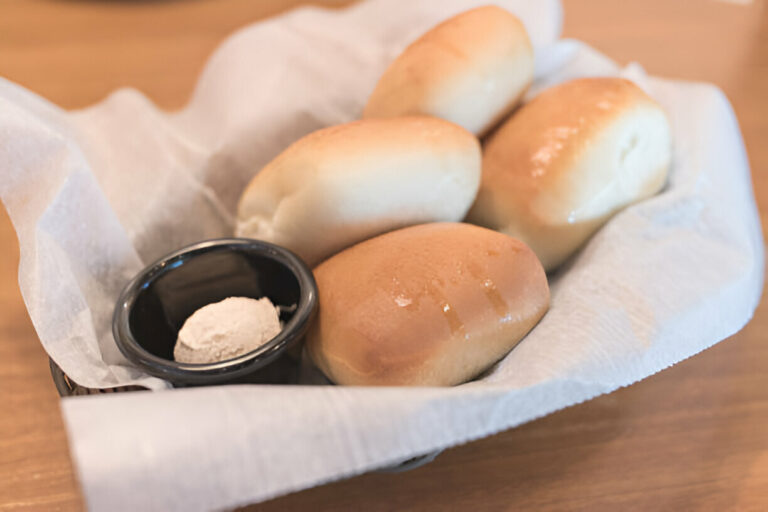
5.1 Perfect Pairings with Dinner Rolls
Dinner rolls serve as a wonderful accompaniment to a variety of dishes. They shine next to comforting stews and soups, where their soft texture can soak up rich broths. They also complement roasted meats beautifully, acting as a perfect vehicle to enjoy savory gravies. For a lighter touch, serve them alongside fresh salads, adding balance to a meal.
5.2 Creative Uses for Leftover Dinner Rolls
Don’t let leftover dinner rolls go to waste; they can be transformed into delightful dishes. Slice them and spread garlic butter for a quick and easy garlic bread. Alternatively, cut them for sliders to fill with your choice of meats or veggies. You can also cube them for croutons, adding crunch to salads, or use them to make a sweet bread pudding when combined with custard and your favorite spices.
Storing Your Dinner Rolls
6.1 Short-Term Storage
To keep your freshly baked dinner rolls at room temperature, place them in a bread box or cover them with a clean kitchen towel. This way, they’ll stay soft while also allowing some moisture to escape. If you wish to store them for a longer period, consider freezing them. Simply place the rolls in a freezer-safe bag or container and store them for up to three months.
6.2 Reheating Tips
When it’s time to enjoy your leftover rolls, reheating them properly is crucial for maintaining softness and moisture. You can pop them in the microwave for about 10-15 seconds to revive their warmth. Alternatively, wrap them in foil and place them in a 350°F oven for about 10-15 minutes for a crispy exterior and soft interior.
FAQs
7.1 How can I make my dinner rolls fluffier?
To achieve fluffier dinner rolls, ensure that you use the right amount of yeast and let your dough rise adequately. Kneading the dough well also contributes to developing the gluten necessary for a light texture. Lightly flouring the surface while shaping helps maintain moisture.
7.2 Can I use whole wheat flour?
Yes, you can substitute whole wheat flour for all-purpose flour; however, keep in mind that the rolls may be denser. You can also combine both flours for a balance of taste and texture. If using whole wheat flour, you may need to increase the liquid slightly, as it absorbs more moisture.
7.3 How do I know if my dough has risen enough?
Your dough has risen sufficiently when it doubles in size and leaves a slight indentation when poked with a finger. If the indentation remains, it’s ready for the next step. If it springs back, let it rise a bit longer.
7.4 Can I make these rolls ahead of time?
Absolutely! You can prepare the dough in advance and refrigerate it after the first rise. Just remember to bring it back to room temperature for about 30 minutes before shaping and proceeding with the second rise and baking instructions.
7.5 What do I do if my yeast didn’t foam?
If your yeast doesn’t foam, it may be expired or your water might have been too hot or cold. Always check the expiration date on the yeast package, and ensure your water is at the right temperature for activation. If it doesn’t foam, it’s best to start over with fresh yeast.
Conclusion
Embracing the simplicity and flavor of One Hour Dinner Rolls brings comfort and joy to mealtime. These quick rolls are perfect for the cook on the go, providing a delicious option for various occasions. Dive into baking these delightful rolls and share your experience with friends and family!
Call to Action
We’d love to hear about your experiences with this recipe! Please share your thoughts or any variations you’ve tried in the comments below. Don’t forget to subscribe for more quick and delicious recipes delivered straight to your inbox!
One Hour Dinner Rolls
Equipment
- 1 large mixing bowl
- 1 measuring cups and spoons
- 1 whisk
- 1 wooden spoon or spatula
- 1 baking sheet
- 1 parchment paper or cooking spray
- 1 clean kitchen towel
- 1 oven
Ingredients
- 4 cups all-purpose flour
- 2 tablespoons granulated sugar
- 1 tablespoon salt
- 1 tablespoon instant yeast
- 1 ½ cups warm water 110°F to 120°F
- 2 tablespoons unsalted butter melted
Instructions
- In a large mixing bowl, combine the flour, sugar, salt, and instant yeast. Whisk the dry ingredients together until well blended.
- Gradually add the warm water to the dry ingredients. Mix with a wooden spoon or spatula until a sticky dough forms. It should be slightly wet but not overly sticky.
- Add the melted butter to the dough and mix until fully incorporated.
- Turn the dough out onto a lightly floured surface. Knead the dough for about 5 minutes until it becomes smooth and elastic.
- Place the kneaded dough back in the mixing bowl and cover it with a clean kitchen towel. Let it rise in a warm place for about 20 minutes, or until it has doubled in size.
- Preheat your oven to 375°F (190°C).
- Once the dough has risen, punch it down gently to release any air bubbles. Divide the dough into 12 equal portions. Shape each portion into a ball.
- Line a baking sheet with parchment paper or lightly grease it with cooking spray. Place the dough balls on the baking sheet, leaving some space between each one.
- Cover the shaped rolls with the kitchen towel again and let them rise for another 10-15 minutes.
- Bake the rolls in the preheated oven for 20 minutes or until they are golden brown and sound hollow when tapped on the bottom.
- Remove from the oven and allow to cool slightly before serving.