Best Classic Canadian Butter Tarts: A Delicious Guide
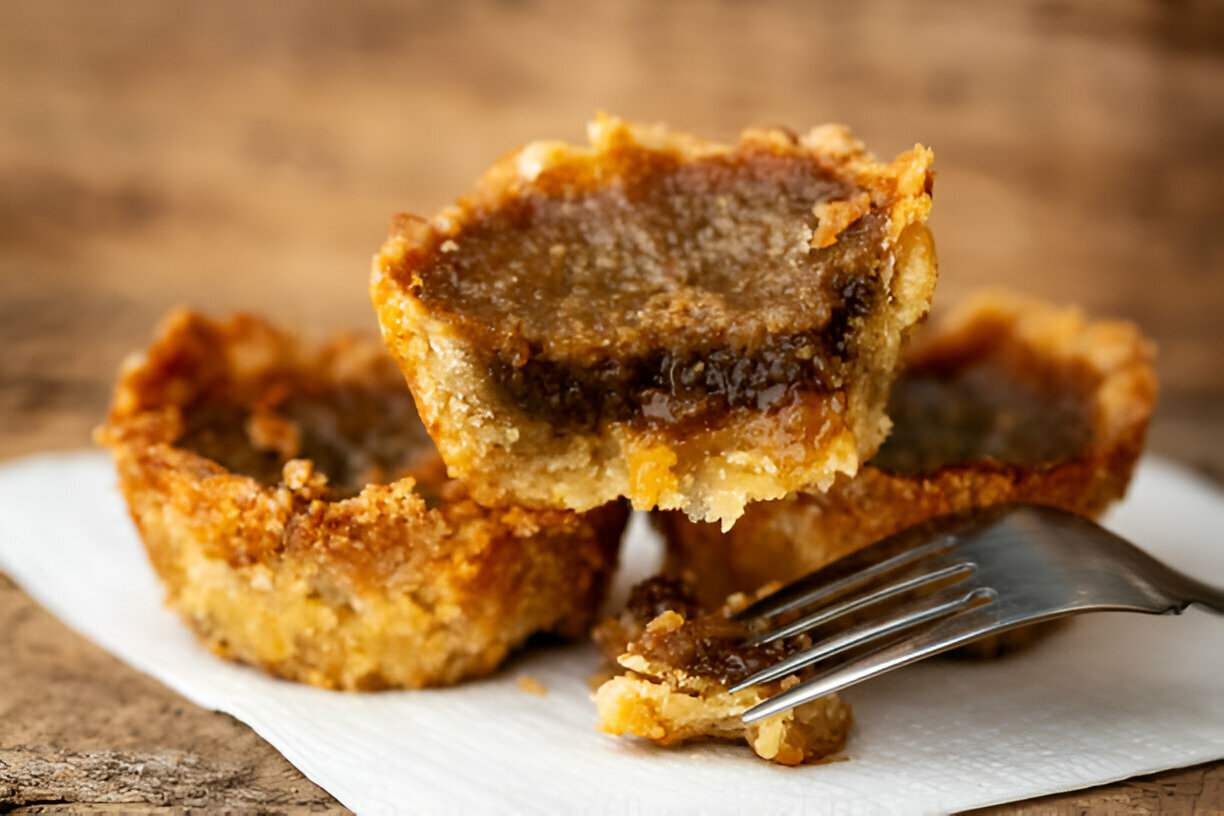
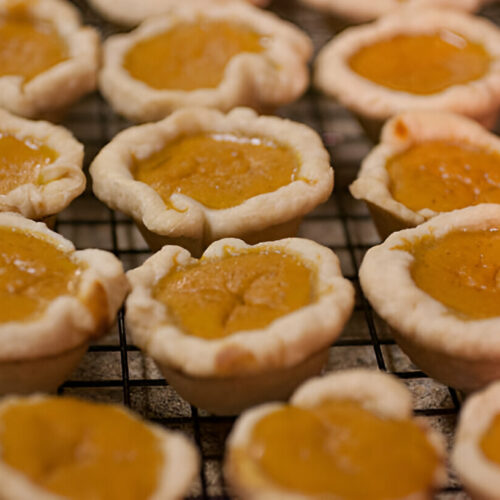
Butter tarts are a quintessential Canadian dessert that boasts a delightful combination of a flaky pastry shell and a rich, gooey filling that can be sweetened with brown sugar or maple syrup. These delectable treats are not only a staple at family gatherings and holiday celebrations but also evoke nostalgia, reminding many Canadians of their childhoods spent at grandma’s kitchen table. With their origins tracing back to the early 19th century, butter tarts have gained widespread appeal and have become an integral part of Canada’s culinary identity.
The cultural significance of butter tarts in Canada cannot be overstated. As one of the country’s classic desserts, they embody the heritage and regional diversity of Canadian cooking. Different provinces have given their unique twists to this beloved treat, leading to delightful variations that highlight local flavors and ingredients. Whether enjoyed during a festive occasion or as a casual afternoon snack, butter tarts are celebrated across the nation for their simplicity and incredible taste.
This article aims to explore the rich history of butter tarts, delve into their key ingredients, and provide a step-by-step guide to creating the perfect classic butter tart recipe. Additionally, we will discuss common pitfalls to avoid, serving suggestions, and storage tips to help you enjoy these delicious treats at their best. Join us on this sweet journey through one of Canada’s most cherished desserts!
1. History of Butter Tarts
Butter tarts have a rich and storied history that traces back to the early 19th century in Canada. Although the precise origin is somewhat murky, it is widely accepted that they emerged from the culinary traditions of early settlers. One of the earliest published recipes for butter tarts appeared in a Canadian cookbook called “The Royal Cook Book” in 1900, which featured a combination of butter, sugar, and eggs. This recipe laid the groundwork for the sweet treat we know today.
Predominantly associated with Ontario, butter tarts have regional variations reflecting the diverse influences throughout Canada. For instance, some recipes include ingredients like raisins, while others feature nuts or chocolate, showcasing the regional preferences and local ingredients. As settlers adapted their recipes based on available resources, unique twists emerged across provinces, solidifying butter tarts as a beloved national dish.
2. Key Ingredients in Classic Butter Tarts
The beauty of classic butter tarts lies in their simple yet essential ingredients, which create a harmony of flavors and textures. First and foremost is the pastry shell, which serves as the foundation for this delectable treat. A flaky and tender crust is crucial, providing the perfect contrast to the gooey filling. Traditional recipes often call for all-purpose flour, butter, and a touch of sugar to enhance the flavor, although modern adaptations may use different types of flour or additional flavorings.
The heart of butter tarts is, of course, the filling. The essential ingredients include butter, brown sugar, eggs, and vanilla extract, which combine to create a luscious and gooey texture. Some bakers choose to experiment by adding optional ingredients such as raisins or pecans, providing a delightful crunch and an additional layer of flavor. These add-ins vary by region, highlighting the unique takes on the classic recipe.
As you explore the world of butter tarts, you’ll find that different provinces put their spin on this beloved dessert. From the addition of maple syrup in some parts of Quebec to the use of chocolate in British Columbia, the diversity of ingredients showcases Canada’s rich culinary heritage and the adaptability of this iconic treat.

3. The Perfect Classic Butter Tart Recipe
3.1 Ingredients
To create the ideal classic butter tart, you’ll need to gather the following ingredients:
- Pastry Shell:
- 1 ½ cups all-purpose flour
- ½ cup unsalted butter (chilled, cubed)
- ¼ cup granulated sugar
- ¼ tsp salt
- 1-2 tbsp cold water
- Filling:
- ½ cup unsalted butter (melted)
- 1 cup brown sugar
- 2 eggs
- 1 tsp vanilla extract
- Optional: ½ cup raisins or pecans
3.2 Directions
Follow these step-by-step instructions to create your butter tarts:
Making the Pastry Shell
- In a mixing bowl, combine the flour, sugar, and salt.
- Add the chilled, cubed butter and blend using a pastry cutter or your fingers until the mixture resembles coarse crumbs.
- Gradually add cold water, one tablespoon at a time, mixing until the dough comes together.
- Wrap the dough in plastic wrap and refrigerate for at least 30 minutes.
- Once chilled, roll out the dough on a lightly floured surface to 1/8 inch thick and cut out circles to fit your tart pans.
- Place the dough circles into the tart pans and trim the excess.
Preparing the Filling
- In a medium bowl, whisk together the melted butter, brown sugar, eggs, and vanilla extract until smooth.
- If using, fold in the optional raisins or pecans into the filling mixture.
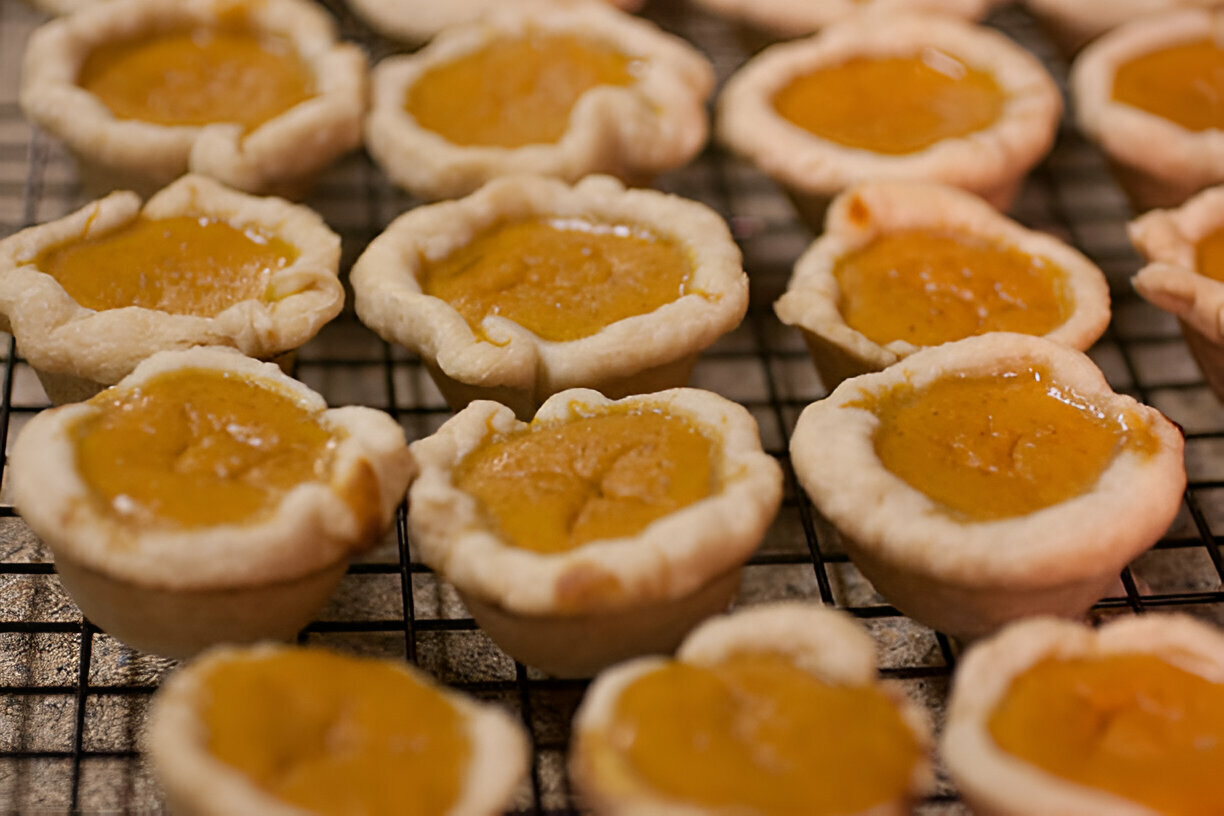
Assembling and Baking the Tarts
- Preheat your oven to 375°F (190°C).
- Evenly distribute the filling among the tart shells, filling them to about 3/4 full.
- Bake in the preheated oven for 20-25 minutes or until the filling is set and the tops are golden brown.
- Remove from the oven and let cool completely before removing from the tart pans.
3.3 Tips for Success
- Achieving the Right Pastry Consistency: Ensure your butter is chilled when making the dough, and avoid overworking it to keep the crust flaky.
- Preventing Burnt Edges: Monitor the tarts closely in the oven and consider using parchment paper on the baking sheet to prevent direct heating.
- Cooling and Serving: Allow the tarts to cool completely for the best texture. They can be served warm or at room temperature.
4. Common Mistakes When Making Butter Tarts
4.1 Underbaking or Overbaking
One common mistake is misjudging the baking time. Underbaked butter tarts may be overly runny, while overbaked ones can turn hard. To tell when they’re done, look for a slightly puffed filling and a golden brown crust. A toothpick test can help; insert it into the tart, and if it comes out with a small amount of filling clinging to it, they are perfect.
4.2 Crust Issues
Another challenge can be the crust. If your crust crumbles or becomes too tough, it may be due to overmixing or too much water. Aim for a sandy texture before adding water, and be gentle while handling the dough to maintain its flakiness.
4.3 Filling Consistency Problems
The filling consistency is essential for the perfect butter tart. If the filling separates, it might be overmixed. To achieve the right gooey texture, mix the ingredients just until combined and avoid incorporating too much air.
5. Serving Suggestions and Pairings
5.1 Traditional Serving
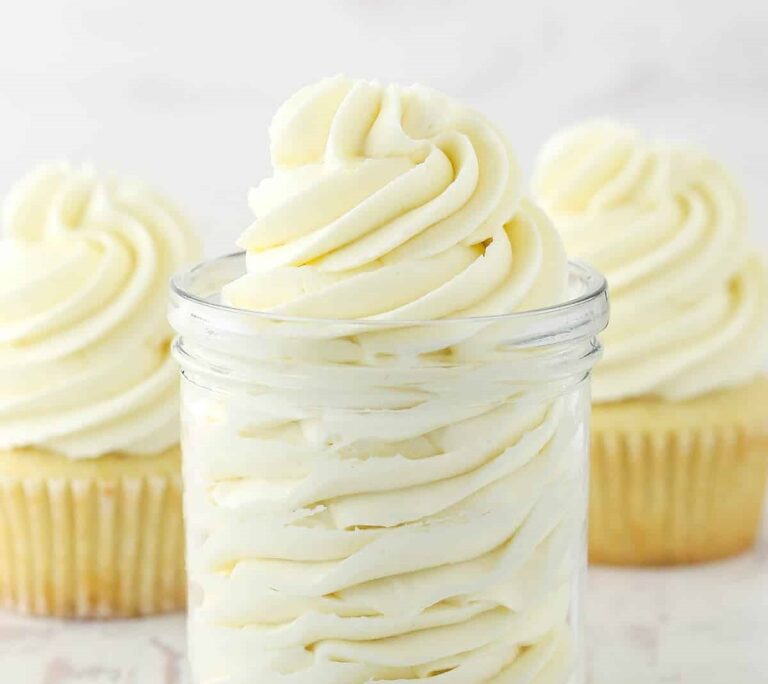
Butter tarts are delightful on their own, but they can also be enjoyed with a dollop of whipped cream for added creaminess. Dusting them with powdered sugar can enhance their visual appeal.
5.2 Beverages to Pair With
For a perfect pairing, consider serving your butter tarts with a warm cup of coffee or tea. A glass of dessert wine also complements the sweetness beautifully, making for a refined treat at any gathering.
6. Storing and Reheating Butter Tarts
6.1 How to Store
Store butter tarts in an airtight container at room temperature for up to three days. For longer storage, you can refrigerate them, but allow them to come to room temperature before serving to maintain their taste and texture.
6.2 Reheating Instructions
To reheat butter tarts, place them in an oven preheated to 350°F (175°C) for about 5-10 minutes. This will restore the flaky crust and gooey filling. Avoid microwaving, as this can cause the filling to become too runny.
7. FAQs Based on “People Also Ask” Feature
7.1 What are the Original Butter Tart Ingredients?
The original butter tart ingredients include a simple mixture of butter, sugar, and eggs, along with a pastry shell. Variations and additional ingredients have developed over the years, enhancing the classic recipe.
7.2 How Do You Avoid Soggy Bottoms in Butter Tarts?
To avoid a soggy bottom, pre-bake the pastry shells briefly before adding the filling. This helps to set the crust and keeps moisture from seeping through.
7.3 Can Butter Tarts Be Frozen?
Yes, butter tarts can be frozen. It is best to freeze them before baking. Ensure they are wrapped tightly in plastic wrap and then placed in an airtight container. Bake from frozen, adding a few extra minutes to the baking time.
7.4 What’s the Difference Between Butter Tarts and Pecan Pie?
While butter tarts are primarily made with a filling of butter and sugar, pecan pie derives its flavor from the addition of pecans mixed into the filling, giving it a distinct nutty flavor and texture, along with a fully cooked filling.
7.5 How Long Do Homemade Butter Tarts Last?
Homemade butter tarts can last up to three days at room temperature or about a week in the refrigerator, depending on the freshness of the ingredients used. Always check for signs of spoilage before consuming.
Conclusion
In conclusion, butter tarts are a beloved dessert that encapsulates the spirit of Canadian culture and culinary heritage. With their rich history, simple yet delightful ingredients, and the ability to adapt to regional flavors, these treats are sure to be a hit at any gathering. Whether you are following a classic recipe or experimenting with new variations, creating butter tarts is a rewarding experience that connects us to cherished traditions. We invite you to share your experiences and unique adaptations of this classic dessert!
Best Classic Canadian Butter Tarts
Equipment
- 1 muffin tin
- 1 mixing bowl
- 1 rolling pin
- 1 pastry cutter
- 1 measuring cups and spoons
- 1 whisk
- 1 oven
Ingredients
- 1 ¾ cups all-purpose flour
- ½ cup unsalted butter Cold and cubed.
- 4-5 tablespoons ice water
- 1 cup brown sugar Packed.
- ½ cup granulated sugar
- 2 large eggs
- 1 teaspoon vanilla extract
- ¼ teaspoon salt
- ½ cup raisins or pecans (optional)
Instructions
- Preheat your oven to 350°F (175°C).
- In a mixing bowl, combine the all-purpose flour and salt. Add the cold, cubed unsalted butter and mix with a pastry cutter or your fingers until the mixture resembles coarse crumbs.
- Gradually add the ice water, one tablespoon at a time, mixing until the dough starts to come together. Do not overwork the dough.
- Turn the dough out onto a lightly floured surface and form it into a disk. Wrap it in plastic wrap and refrigerate for 30 minutes.
- In a mixing bowl, whisk together the brown sugar, granulated sugar, eggs, vanilla extract, and salt until well combined.
- Once the dough has chilled, roll it out to about 1/8-inch thickness on a floured surface. Using a round cutter, cut out circles of dough that are slightly larger than the muffin tin cups.
- Fit the dough circles into the muffin tin, pressing down gently to cover the bottom and sides of each cup.
- If using raisins or pecans, distribute them evenly among the pastry-lined cups.
- Pour the filling mixture into each tart shell, filling them about ¾ full.
- Bake in the preheated oven for 20-25 minutes, or until the filling is set and the edges of the pastry are golden brown.
- Remove the butter tarts from the oven and let them cool in the muffin tin for about 10 minutes before transferring them to a wire rack to cool completely.